Assembling the legs
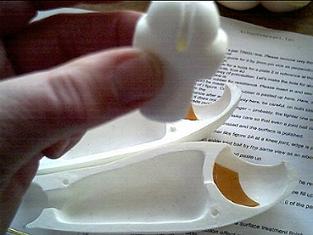
Before assembling the legs, the thigh ball joints have to be completed. A small "cap" needs to be inserted into the hole in each large ball. I used 2mm electrical plugs found in the hardware store and I cut them to size. After inserted them into the hole, they need to be cut flush to the ball joint.
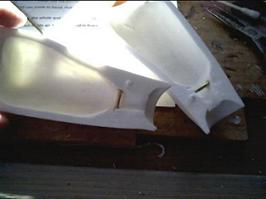
Rubber strips need to be cut and glued to the inside of each thigh section per the diagram.
The rubber is included in the kit, so I just measured 4 pieces to fit inside the upper thigh
pieces and glued them down.
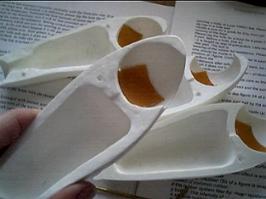
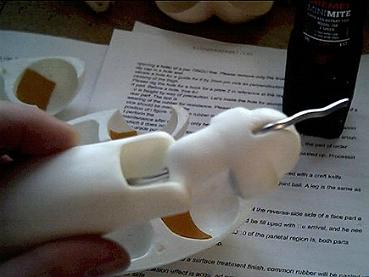
Now the knee joints need to be drilled and sanded. This is a little difficult, so I referred to the
diagram pictures and noticed I needed 3 holes drilled into this joint. There is a small
indention in the bottom of each joint to start the hole. It needs to come out the top end. You
also need to drill another hole at the beginning of the slot that is already carved into
the joint. This hole needs to meet the center hole inside the center of the knee. This is the
hole the wire will come out of. The elastic goes from the bottom hole thru the top hole i nto the
upper thigh piece.
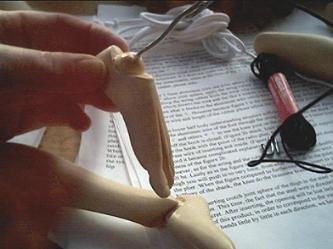
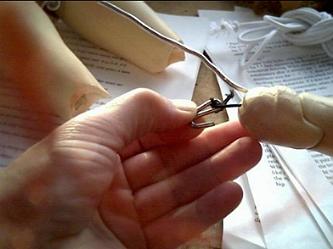
The above photo shows how the wire should fit thru the knee joint and lower leg piece.
If you look closely inside the sections of the thighs, you will see two tiny holes in the mold in
two of the four sections. A small brass rod needs to be inserted into these holes, after you drill
them big enough to fit the brass rod. These small rods hold the hooks with elastic that goes thru
the knee to the lower leg piece.
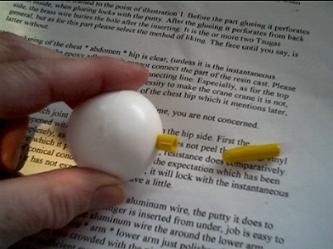
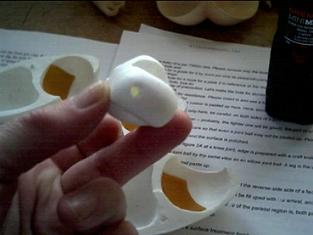
You should now paint the sphere balls "before" you insert them into the thigh and glue the thigh
pieces together. After glueing the thigh sections, puttying and sanding the seam, you are now ready to
paint the remaining leg pieces.
After the feet are painted, insert a section of wire into the ball down into the foot and glue it.
This wire will be bent into a hook and a piece of elastic tied onto this piece. You now need to thread that piece of elastic up thru the lower leg and the knee joint. After it comes out the top hole on the knee joint, you tie one of the included metal hooks on this end. This will hook into the lower thigh on the brass bar that was glued into the thigh previously.
Complete the other leg the same way. The thighs now fit to the lower torso by glueing the rod extending out each side of the lower torso into the hole in the sphere ball.

Web site to see more pictures of this doll finished
